Streamline Your Processes: Integrate Zapier with WebStatus247
When integrated with Zapier, webhooks enable seamless communication by triggering actions in your Zaps as soon as specific events occur. Whether you’re managing tasks, monitoring system alerts, or tracking user activity, Zapier’s webhook functionality allows you to capture data from external tools and use it to streamline processes.
1. Log in to Zapier :
Go to Zapier and log in to your account.
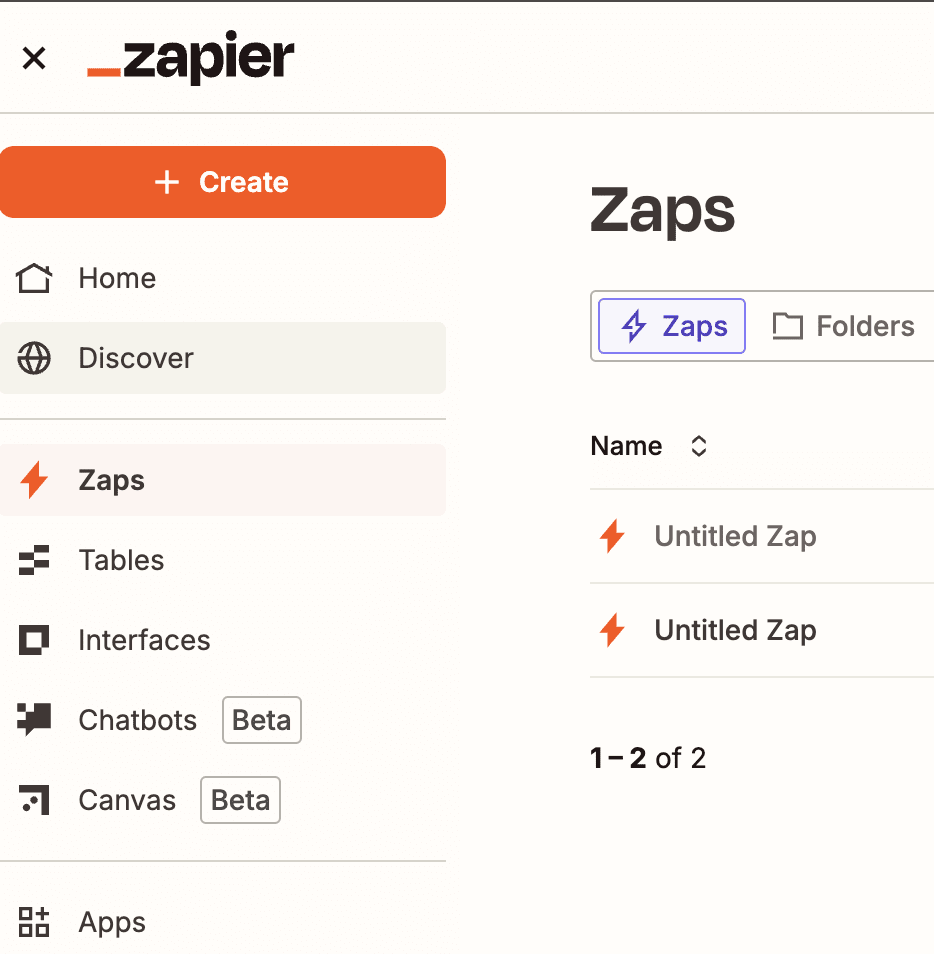
2. Create a New Zap :
Click on "Create Zap" in your dashboard.
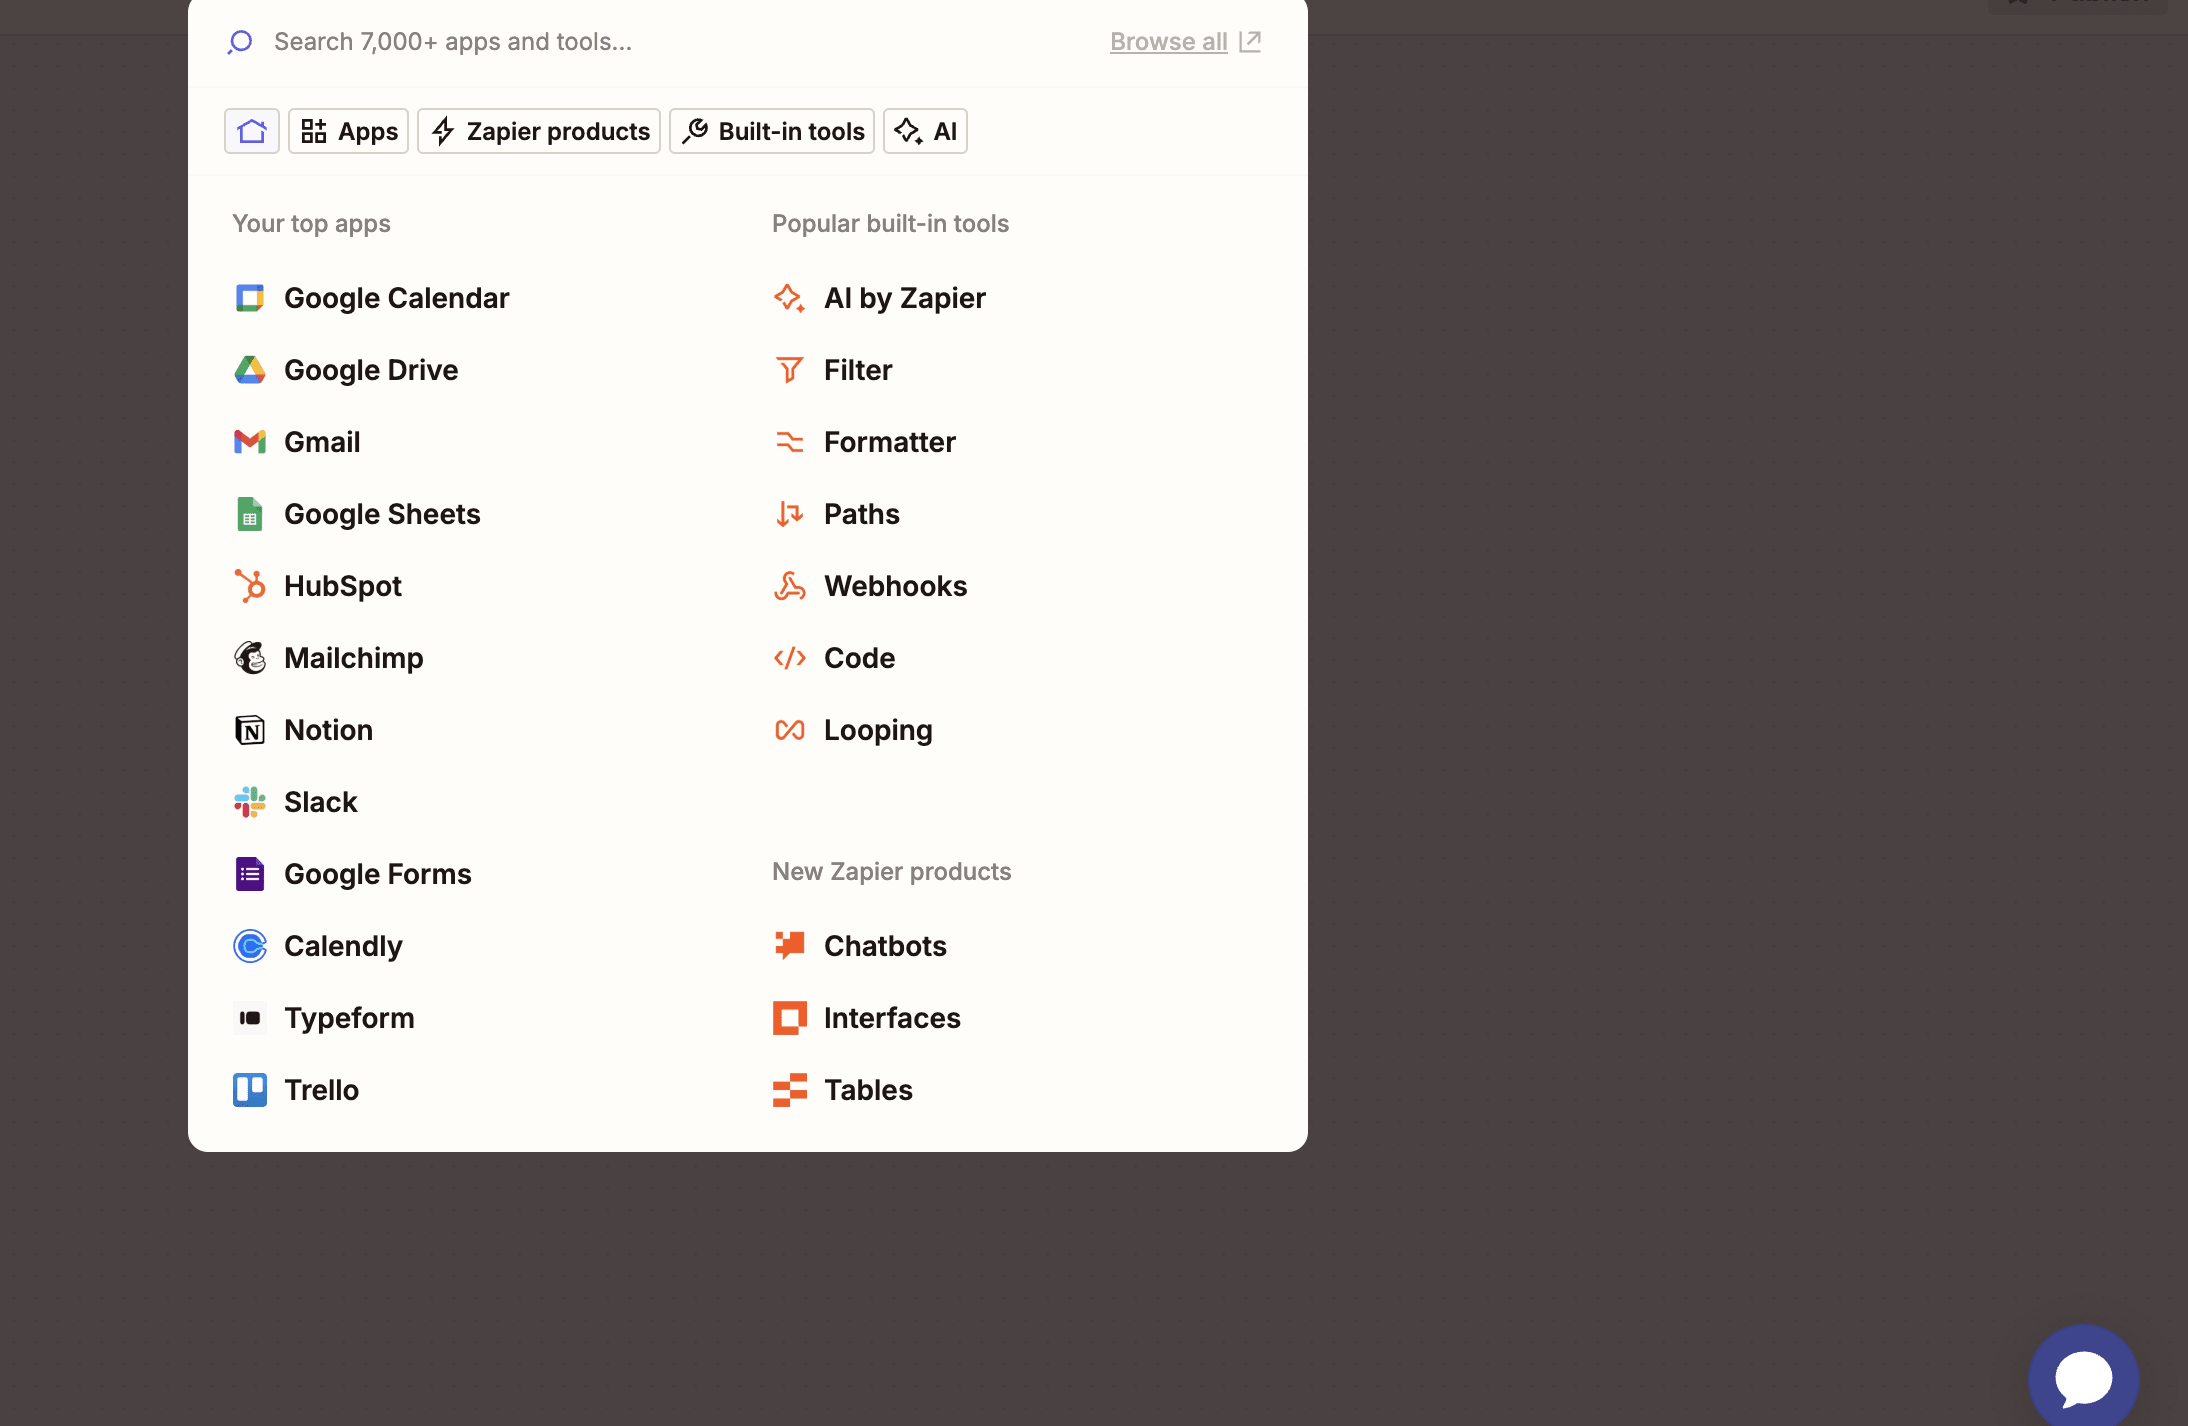
Search for "Webhooks by Zapier" as the trigger app.
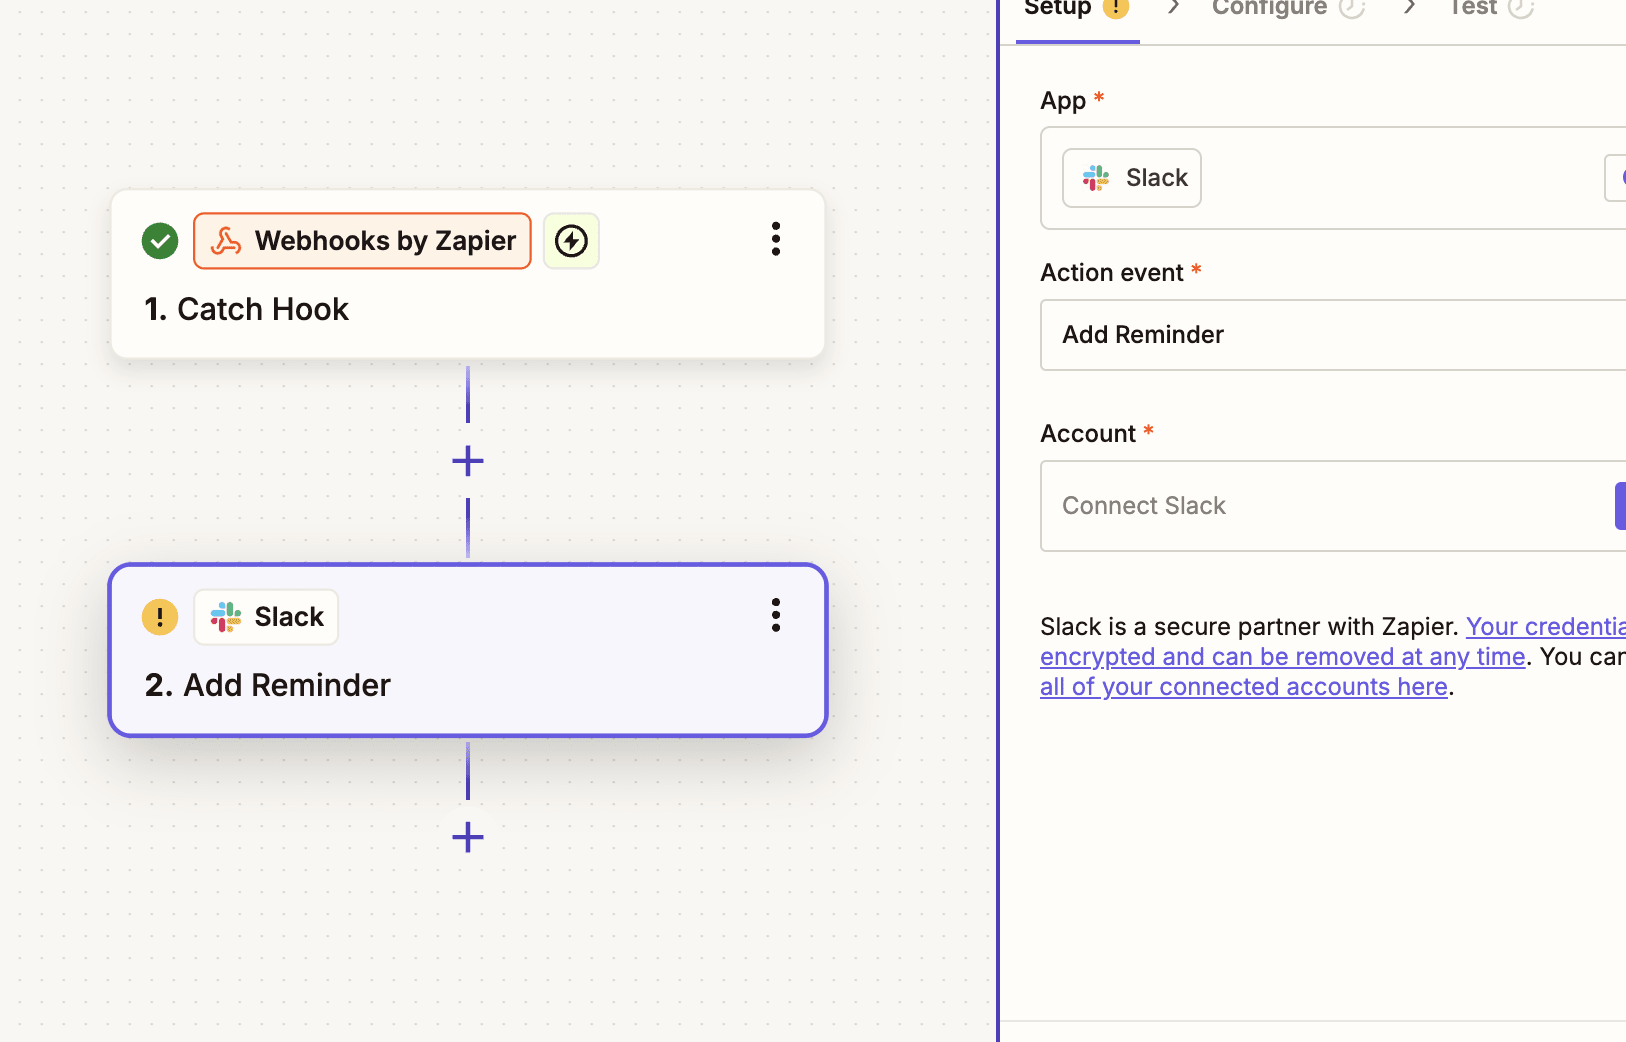
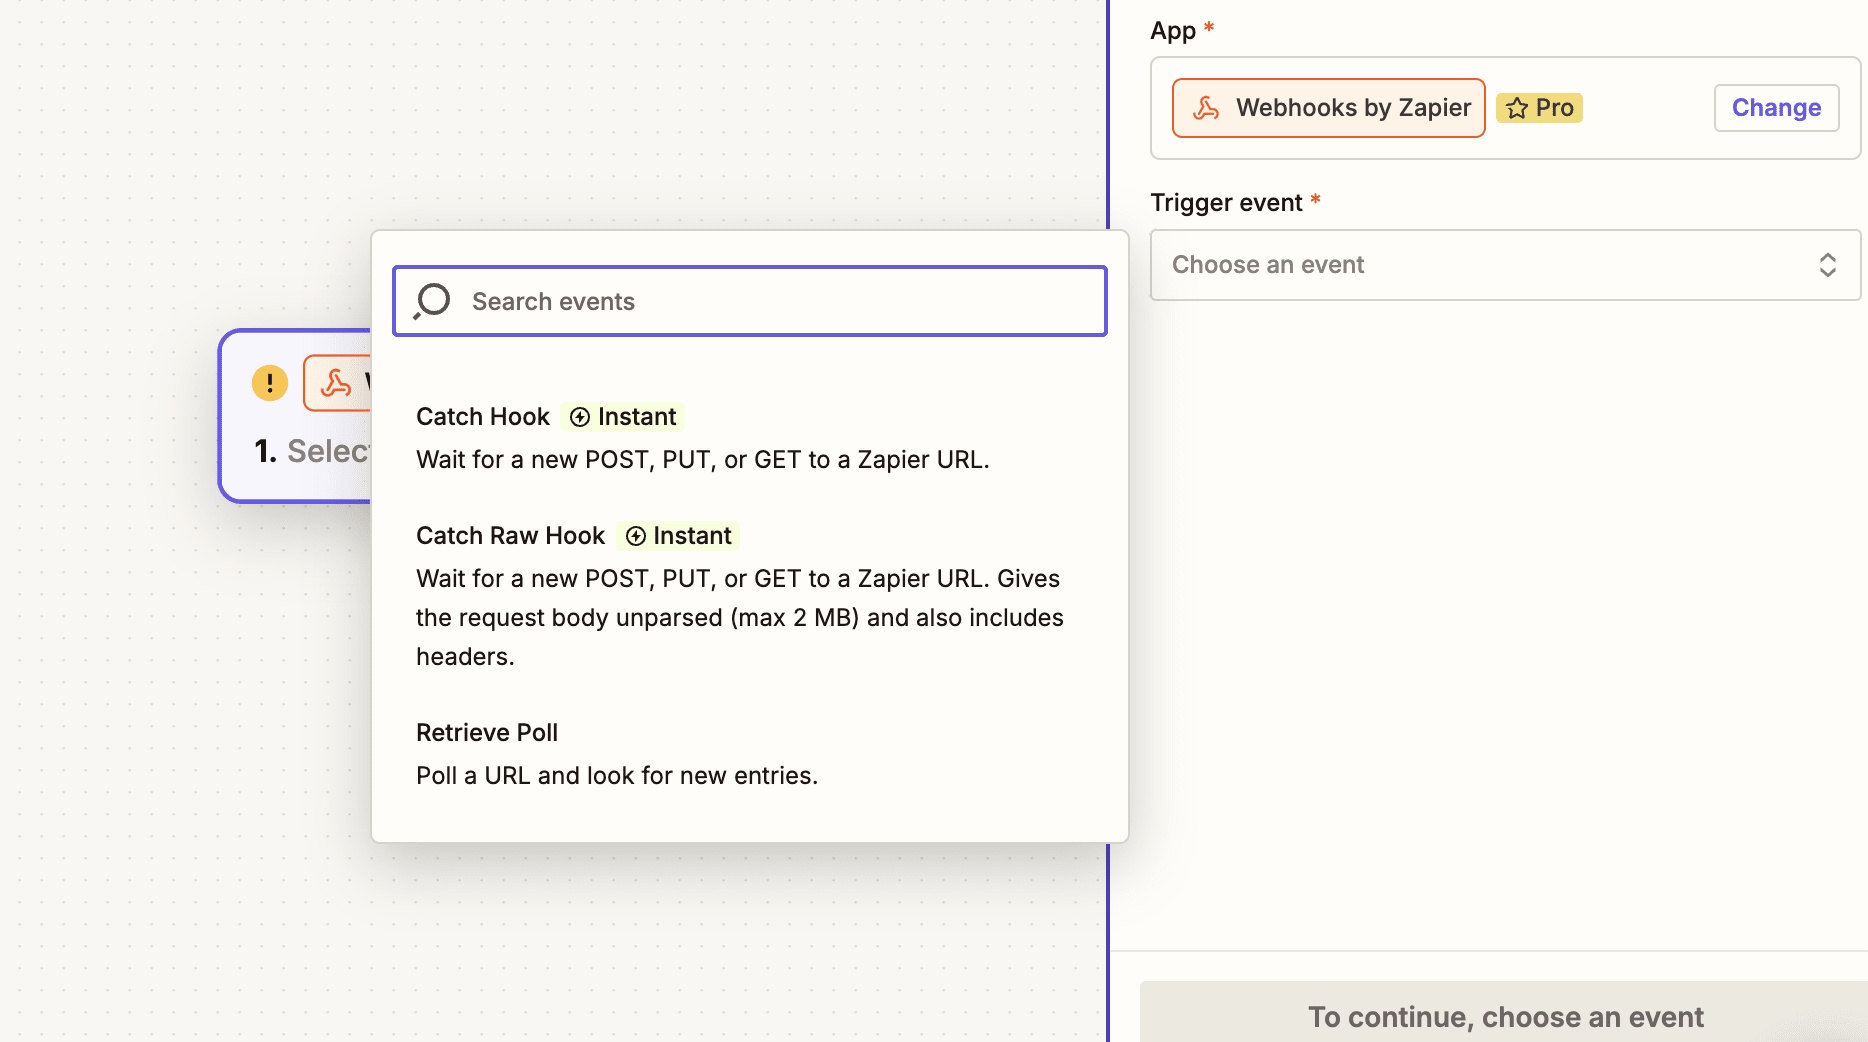
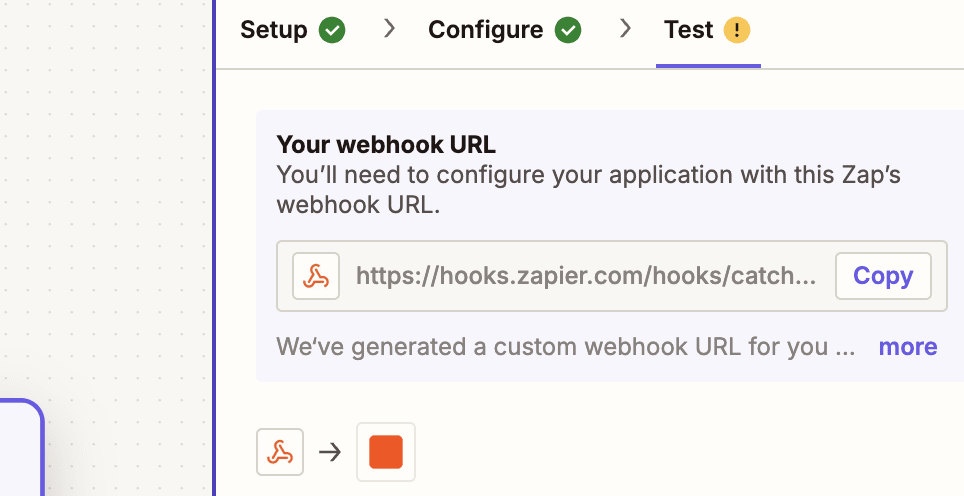
3. Set Up the Webhook Trigger :
Choose "Catch Hook" as the trigger event.
Click Continue.
Zapier will provide you with a unique Webhook URL. Copy this URL for use in the next steps.

4. Configure Your Notification System to Use the Webhook URL :
Go to the tool or application from which you want to send notifications.
Paste the Webhook URL from Zapier into the designated field.
5. Customize the Payload (Optional)
If your application allows it, customize the payload (the data sent to the webhook).
Ensure the payload includes all necessary fields (e.g., title, message, priority).
Use JSON format for the payload if required.
6. Test the Webhook
Trigger a test notification from your application.
Check Zapier to ensure it received the data.
Zapier will display the test payload it received under Test Trigger.